Preparation
Before you actually open R or RStudio, there things to consider that make working in R much easier and give your workflow a better structure.
Imagine it like this: when you want to write a book, you could simply take pen and paper and start writing or you could think about what you want to write about, what different chapters your book would consist of, which chapters to write first, what these chapters will deal with, etc. The same is true for R: you could simply open R and start writing code or you can prepare you session and structure what you will be doing.
Folder Structure and R projects
Before actually starting with writing code, you should prepare the session by going through the following steps:
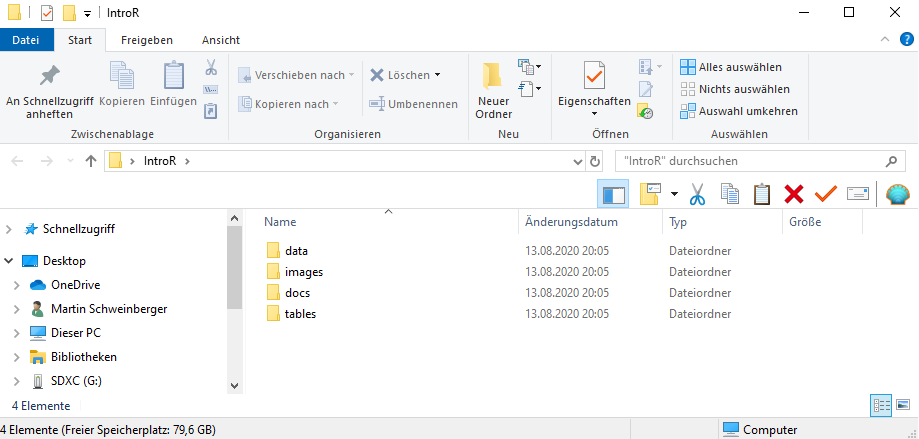
1. Create a folder for your project
In that folder, create the following sub-folders (you can, of course, adapt this folder template to match your needs)
- data (you do not create this folder for the present workshop as you can simply use the data folder that you downloaded for this workshop instead)
- images
- tables
- docs
The folder for your project could look like the the one shown below.
Once you have created your project folder, you can go ahead with RStudio.
2. Open RStudio
This is what RStudio looks like when you first open it:
![]()
In RStudio, click on File
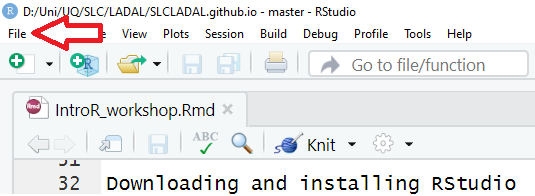
You can use the drop-down menu to create a R project
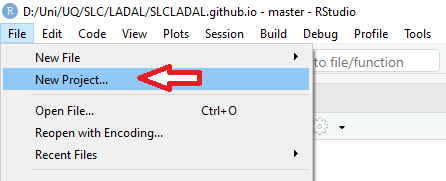
3. R Projects
In RStudio, click on New Project
Next, confirm by clicking OK and select Existing Directory.
Then, navigate to where you have just created the project folder for this workshop.
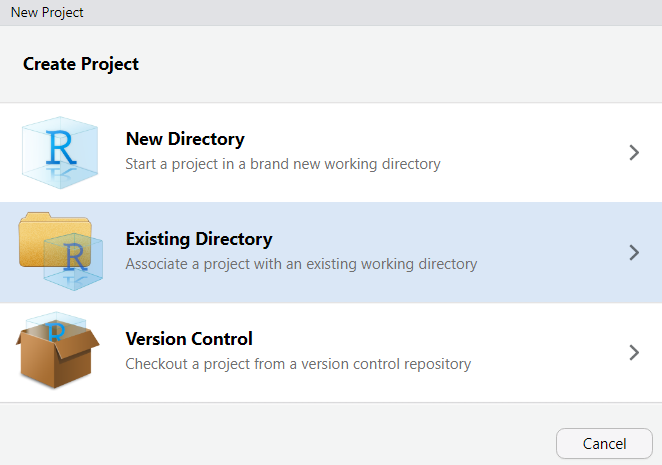
Once you click on Open, you have created a new R project
4. R Notebooks
In this project, click on File
Click on New File and then on R Notebook as shown below.
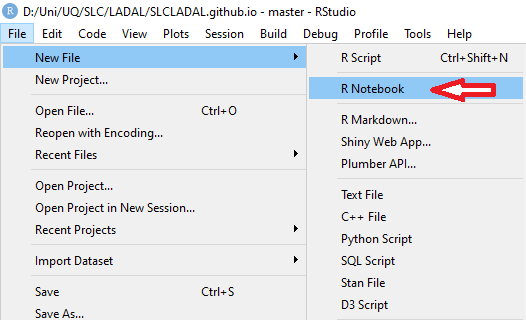
This R Notebook will be the file in which you do all your work.
5. Getting started with R Notebooks
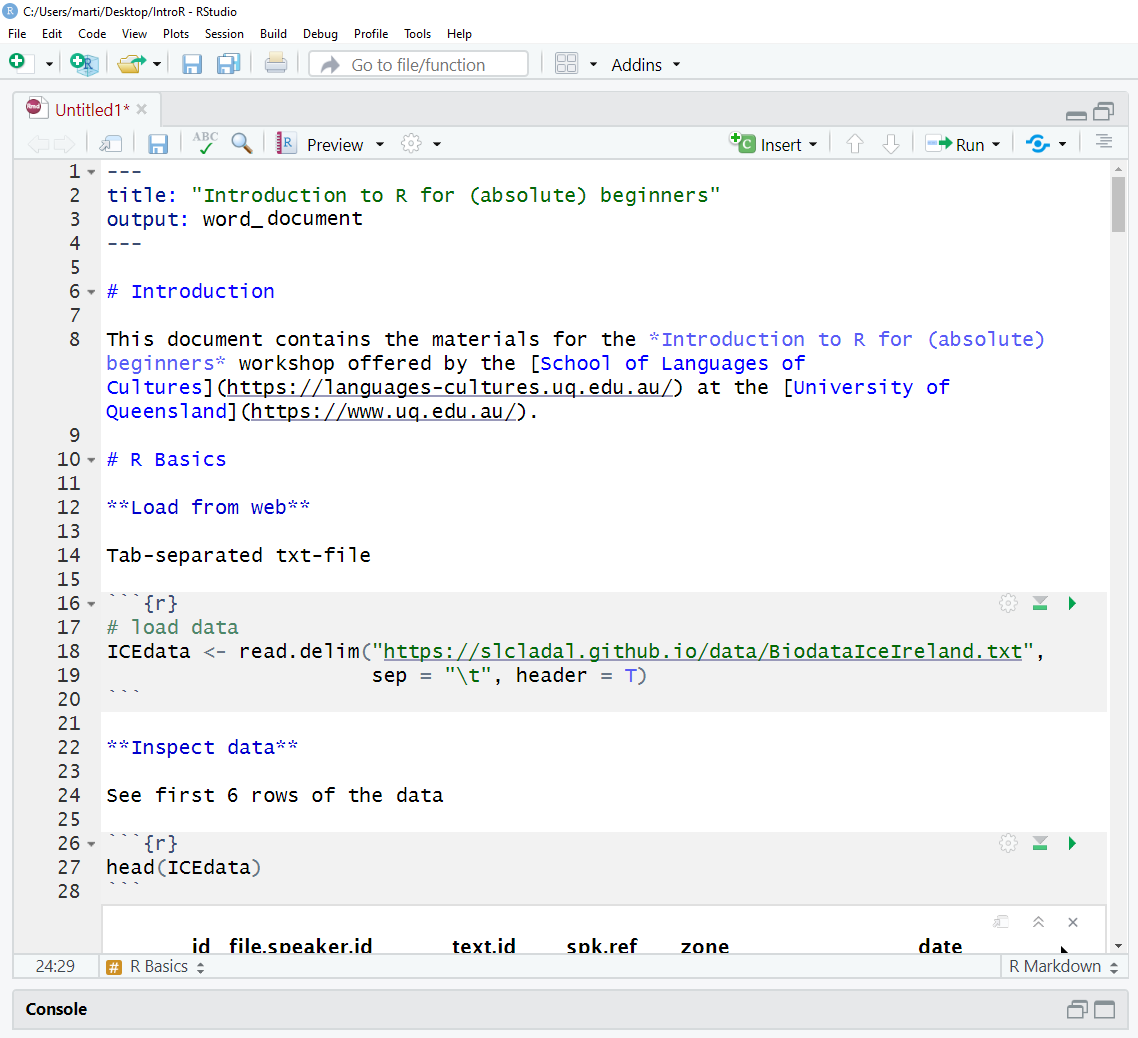
You can now start writing in this R Notebook. For instance, you could start by changing the title of the R Notebook and describe what you are doing (what this Notebook contains).
Below is a picture of what this document looked like when I started writing it.
When you write in the R Notebook, you use what is called R Markdown which is explained below.
R Markdown
The Notebook is an R Markdown document: a Rmd (R Markdown) file is more than a flat text document: it’s a program that you can run in R and which allows you to combine prose and code, so readers can see the technical aspects of your work while reading about their interpretive significance.
You can get a nice and short overview of the formatting options in R Markdown (Rmd) files here.
R Markdown allows you to make your research fully transparent and reproducible! If a couple of years down the line another researcher or a journal editor asked you how you have done your analysis, you can simply send them the Notebook or even the entire R-project folder.
As such, Rmd files are a type of document that allows to
include snippets of code (and any outputs such as tables or graphs) in plain text while
encoding the structure of your document by using simple typographical symbols to encode formatting (rather than HTML tags or format types such as Main header or Header level 1 in Word).
Markdown is really quite simple to learn and these resources may help:
The Markdown Wikipedia page includes a very handy chart of the syntax.
John Gruber developed Markdown and his introduction to the syntax is worth browsing.
This interactive Markdown tutorial will teach you the syntax in a few minutes.